Chosen theme: Wood Veneer Repair and Revitalization. Welcome to a friendly, practical space where we rescue bubbled, chipped, and tired veneer, restore its glow, and celebrate every quiet victory. Share your questions, subscribe for fresh tips, and join our hands-on community.
Veneer is a thin slice of real wood bonded to a stable substrate like plywood or MDF using adhesives such as hot hide glue or PVA. Grain orientation, crossbanding, and glue lines dictate movement, strength, and how repairs accept clamping and heat.
Veneer 101: How Thin Wood Lives, Ages, and Fails
Bubbles form when adhesive fails from humidity swings or heat; chips occur at edges where veneer is most vulnerable; stains arrive via spills, metal contact, or trapped moisture. Correct diagnosis prevents over-sanding, unnecessary patching, and destructive fixes that complicate future revitalization.
Veneer 101: How Thin Wood Lives, Ages, and Fails
Before touching a sander, test finishes in an inconspicuous spot, photograph everything, and plan minimal intervention. Reversible repairs with hide glue, selective heat, and careful clamping preserve originality. Subscribe for conservation-first checklists and share your guiding principles below.
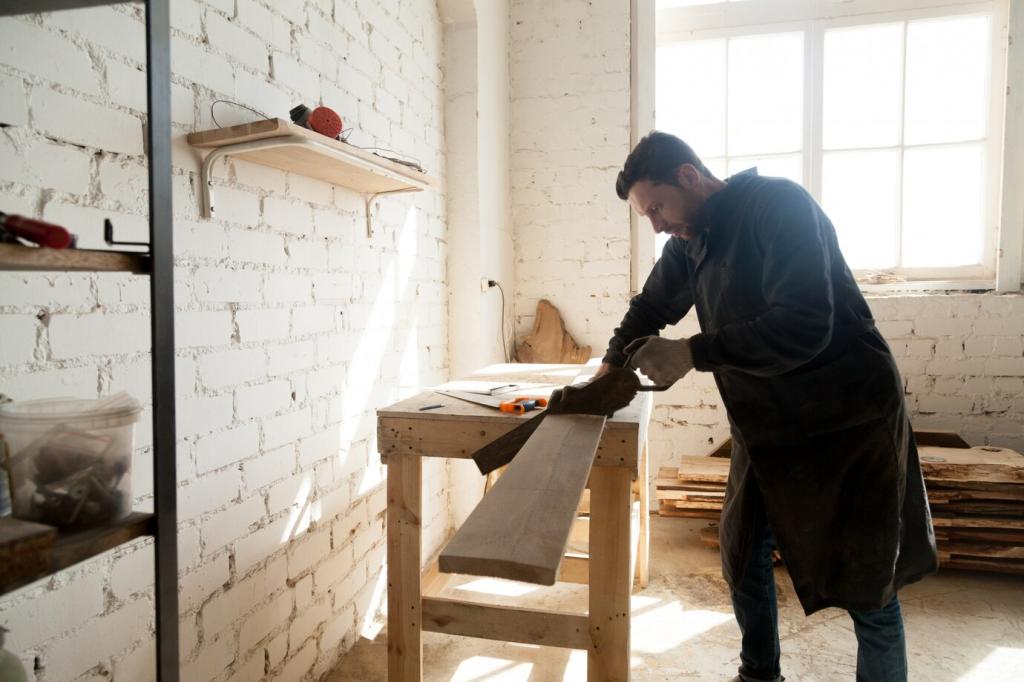
Lighting, Raking Shadows, and Fingertip Travel
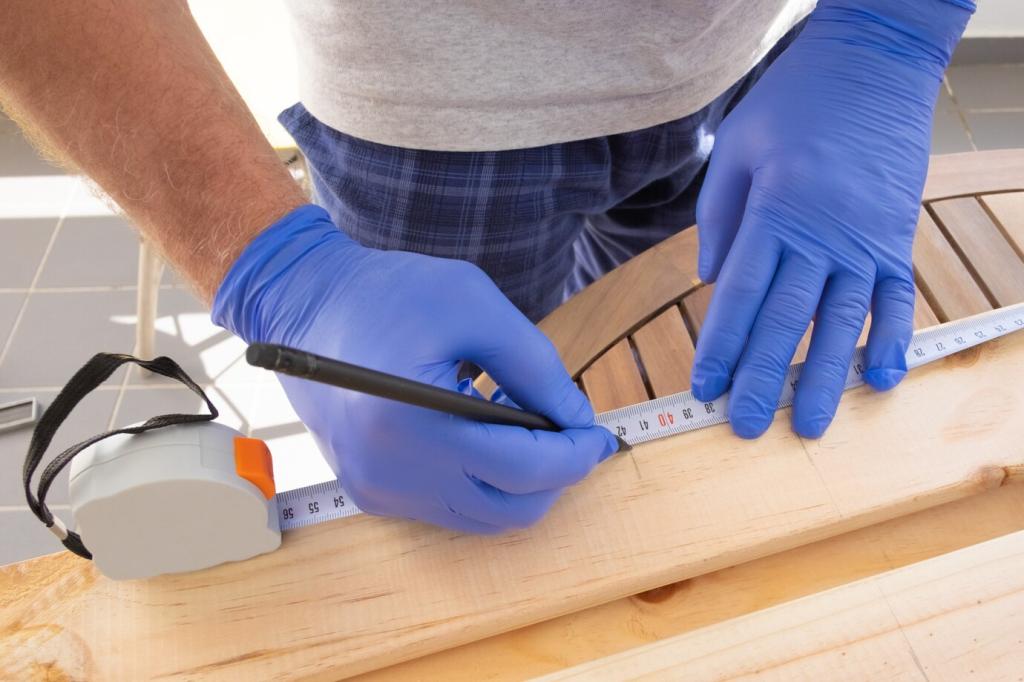
Angle a strong light to cast raking shadows across the surface. Glide fingertips gently to detect blisters, lifted seams, and grain direction. Mark problem spots with painter’s tape and note movement near edges, hardware footprints, and sun-faded panels.
Tools and Safety You Actually Need
Gather a cabinet scraper, sharp veneer knife, card cauls, wax paper, clamps, syringes, heat source, and adhesives. Wear a respirator for solvent work, nitrile gloves, and eye protection. Safe prep protects you and preserves fragile veneer during revitalization.
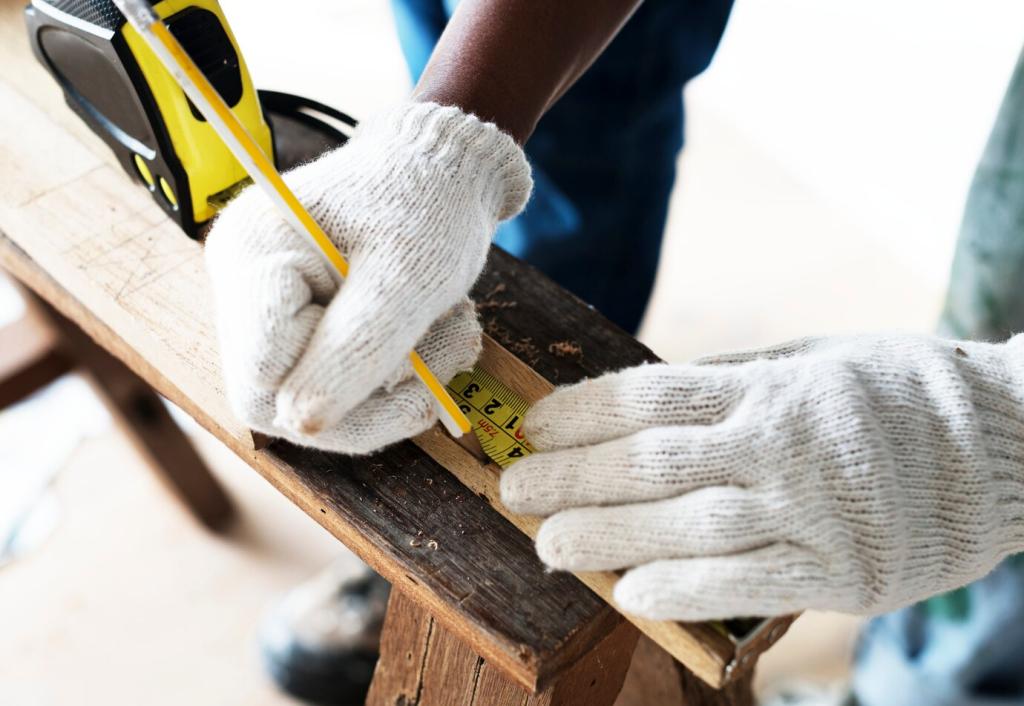
Document and Plan Before You Commit
Take before photos, label hardware in bags, and sketch your repair map. Note original finish sheen, color shifts, and prior repairs. Planning keeps interventions targeted and reversible. Share your planning checklists and we’ll feature community best practices.
Re-bonding Veneer: From Hot Hide Glue to Vacuum Press
Warm hide glue reactivates with heat and moisture, letting you lift a bubble’s edge, brush in glue, and press down with a veneer hammer. It grabs as it cools, remains reversible, and respects antique and fine furniture conservation standards.
Re-bonding Veneer: From Hot Hide Glue to Vacuum Press
For modern pieces, inject PVA carefully to avoid swelling. Use flat cauls wrapped in wax paper to distribute pressure, and clamp just enough to seat the veneer without starving the joint. Clean squeeze-out promptly to prevent finish contamination during revitalization.
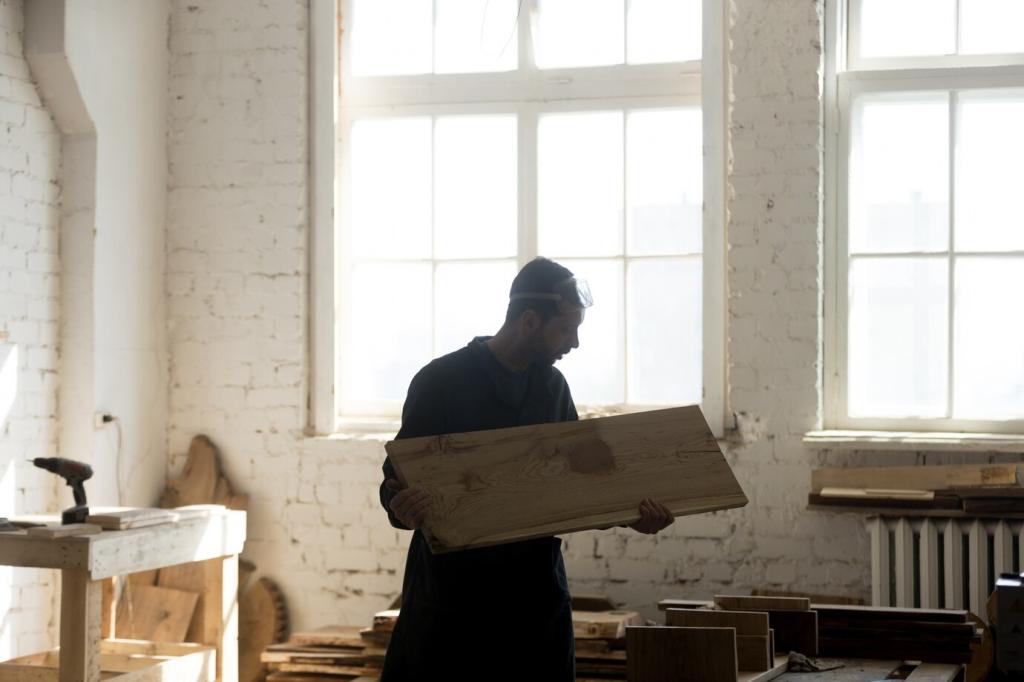
Seamless Patches: Grain-Matching, Color, and Edge Fidelity
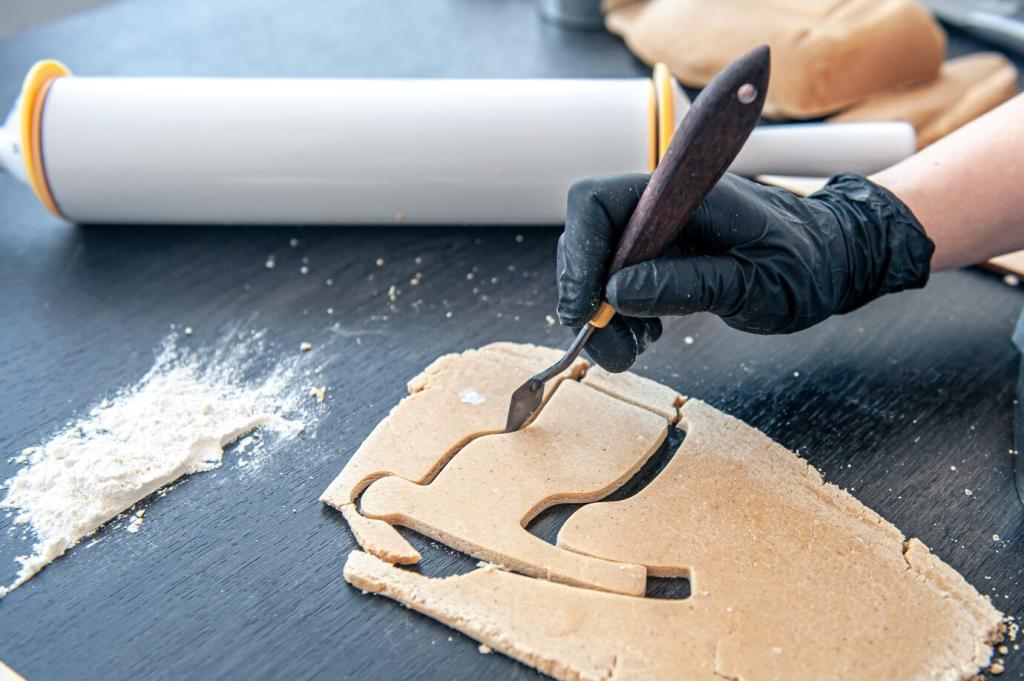
Select donor veneer from matching species and figure. Create a painter’s tape window over the defect to visualize grain alignment. Use the window as a cutting guide so the patch mirrors direction, scale, and medullary ray character precisely.
Seamless Patches: Grain-Matching, Color, and Edge Fidelity
Cut the cavity with a slight inward bevel and the patch with a matching outward bevel to create a tight mechanical lock. Dry-fit, then glue and clamp with cauls. Scrape flush after curing, preserving thickness to avoid telegraphing.
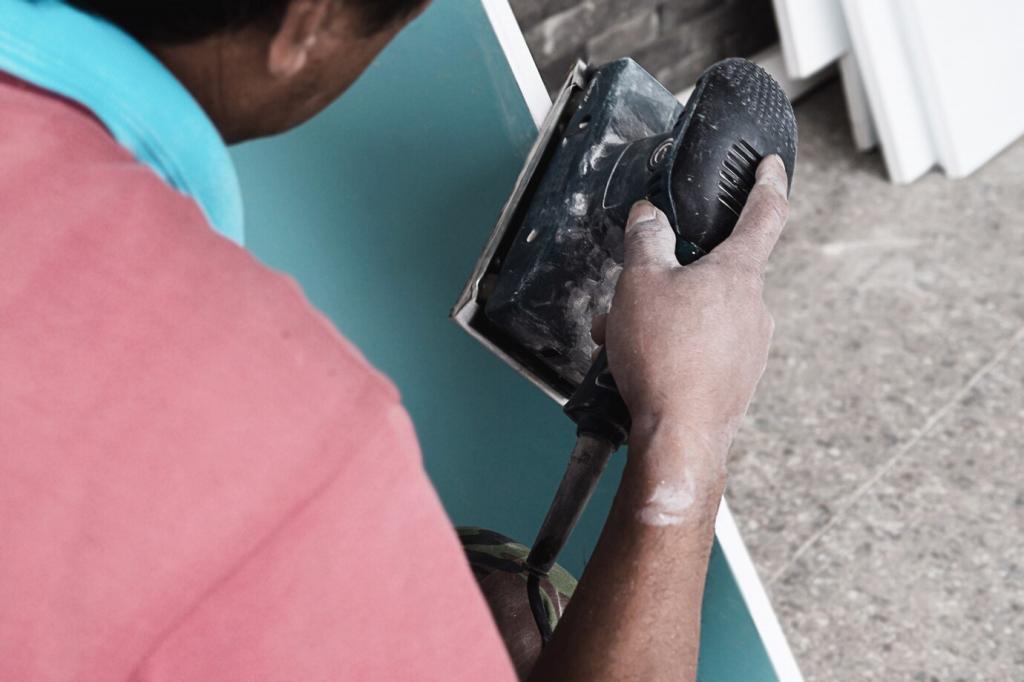
Surface Revival: Sanding, Scraping, and Finishing Without Burn-Through
A tuned cabinet scraper removes finish and high spots with finesse, preserving veneer thickness. Burnish a consistent burr, keep strokes shallow, and check often under raking light. Follow with light sanding at 320–400 grit to refine, not reshape.
Surface Revival: Sanding, Scraping, and Finishing Without Burn-Through
Steam dents with a damp cloth and an iron, lifting compressed fibers gently. Treat dark iron-tannin stains using oxalic acid, then neutralize thoroughly. For white rings, controlled heat or petroleum distillates can release moisture without aggressive abrasion.
Care and Prevention: Keep the Glow for Decades
Humidity and Sunlight Management
Maintain indoor humidity between forty and fifty-five percent to minimize movement. Use UV-filtering film or curtains to prevent fading and glue creep. Add felt pads under objects to avoid pressure dents and reduce trapped moisture beneath decor.
Cleaning Without Damage
Dust with a soft cloth, clean occasionally with diluted mild soap, and avoid ammonia or harsh solvents. Refresh protection with a thin paste wax layer when appropriate, buffing lightly for sheen control. Share product combos that have served you well.
A Credenza We Almost Lost
A sun-baked midcentury credenza arrived with blisters, rings, and peeling edges. Hide glue re-bonded the top, oxalic acid lifted stains, and shellac toners unified color. The owner cried happy tears. Have a save like this? Tell us everything.