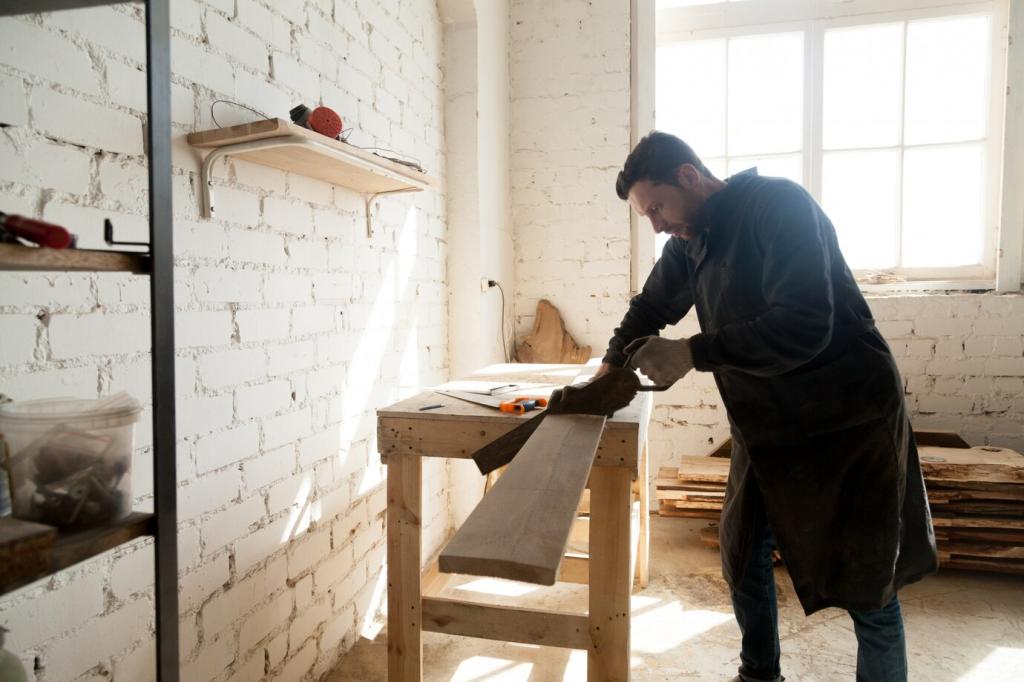
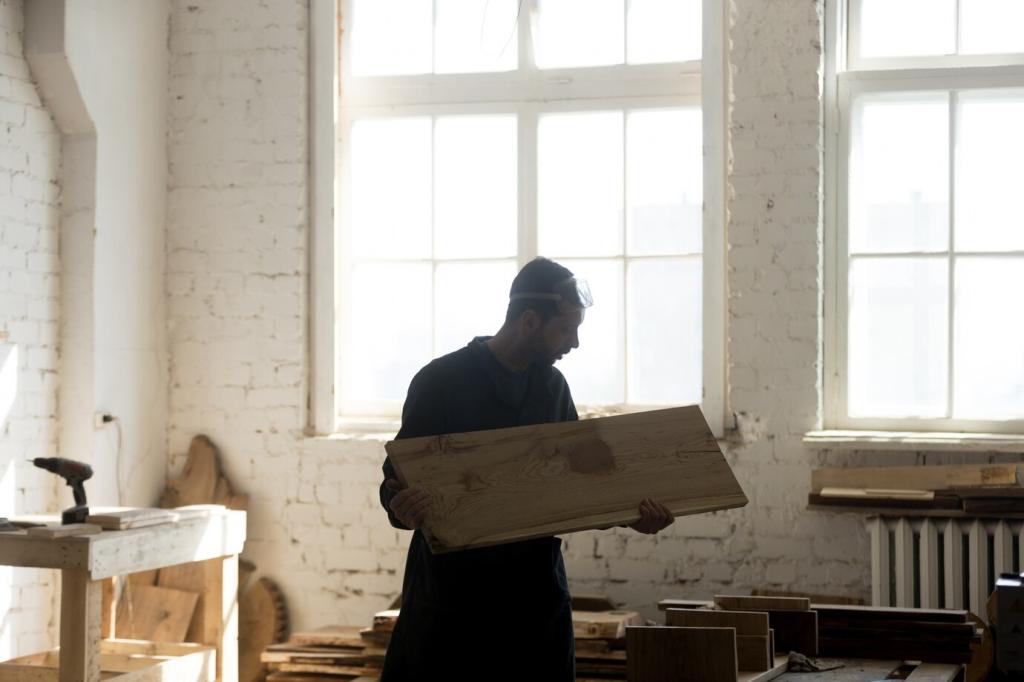
Tools, Fixtures, and Workspace for Delicate Carvings
A curated roll beats a crowded bench: V-tools, small gouge sweeps, skew chisels, veiners, rifflers, and micro-scrapers. Keep them razor sharp. Share your sharpening routine for tiny profiles that must slice fibers, not bruise them.
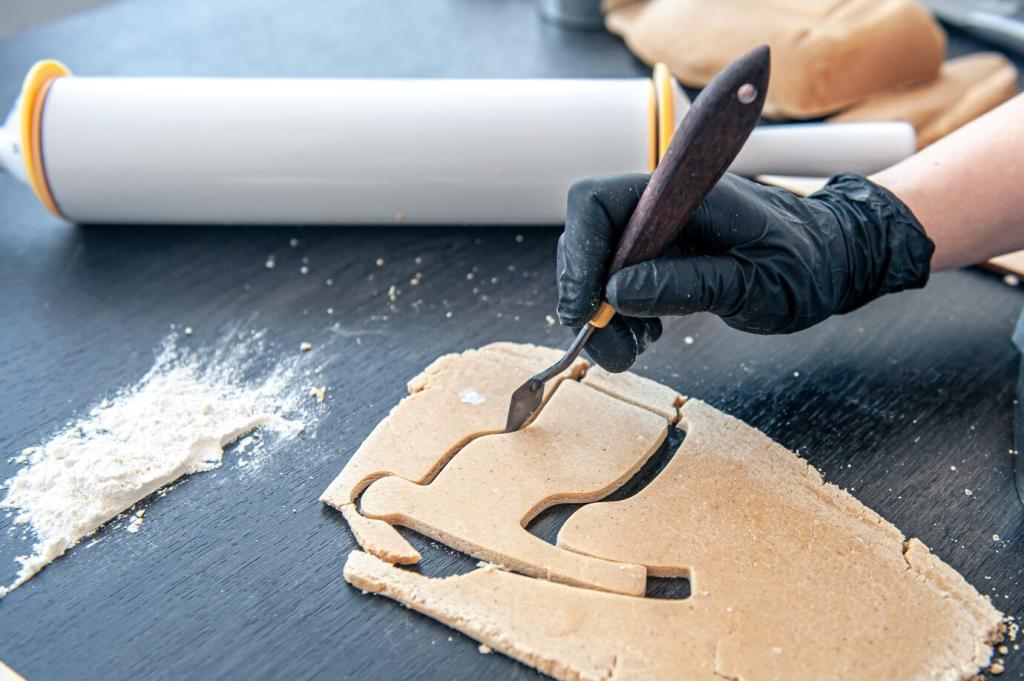
Tools, Fixtures, and Workspace for Delicate Carvings
Raking light reveals contours; adjustable LED temperature preserves color judgment. Headband magnifiers and rests reduce fatigue. Tell us how you stage pieces for long sessions, protecting wrists while keeping carvings stable, visible, and oriented like original use.
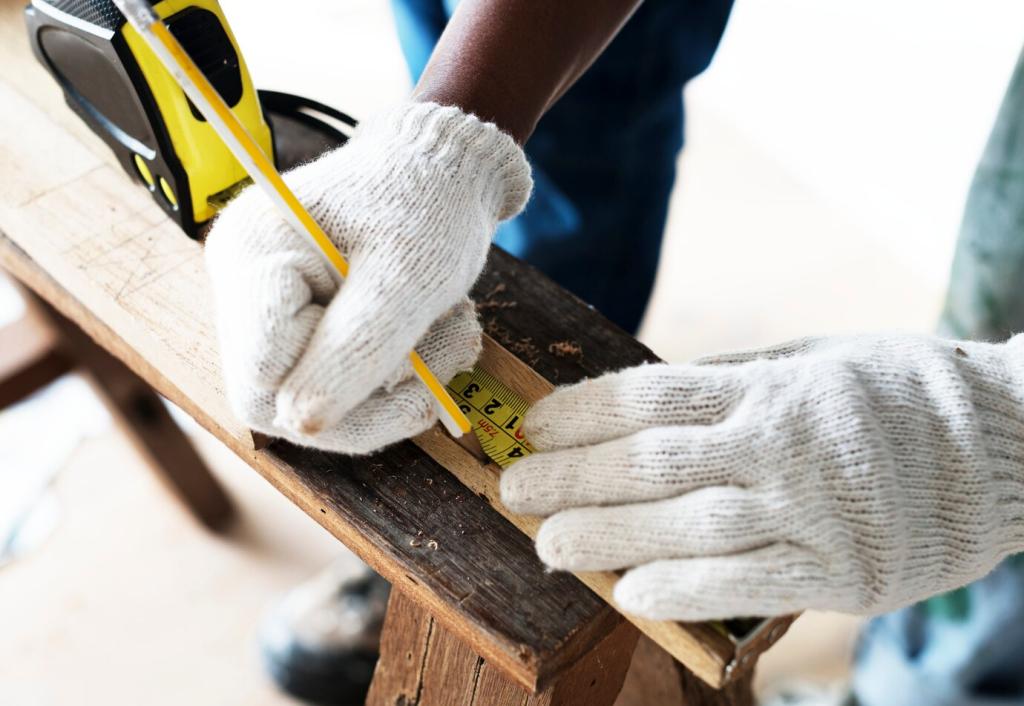
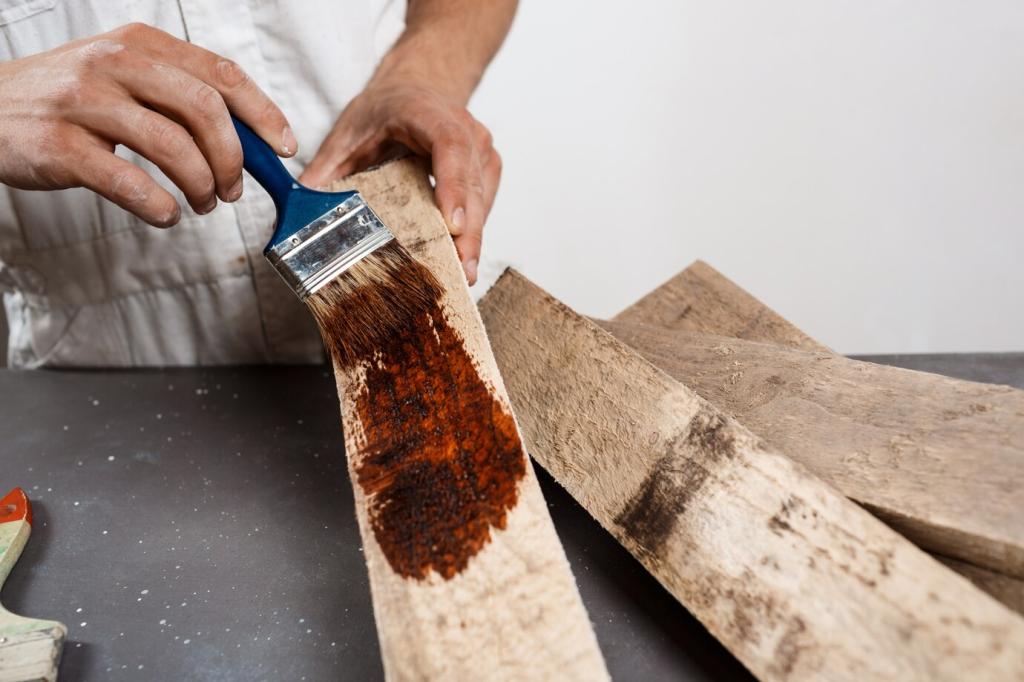
Tools, Fixtures, and Workspace for Delicate Carvings
Use soft, shaped cauls, sandbags, and low-tack wraps to cradle fragile work. Avoid point pressure. Micro-clamps with cork faces offer security. Comment with jig ideas that support undercuts without flattening the delicate relief that makes carvings sing.
Tools, Fixtures, and Workspace for Delicate Carvings
Lorem ipsum dolor sit amet, consectetur adipiscing elit. Ut elit tellus, luctus nec ullamcorper mattis, pulvinar dapibus leo.